
Once that was complete, it was time to paint!
Most of the reason for repainting the kitchen was to freshen it up. First, the wallpaper removal had left a sort of ugly bit around the top edges of the walls - either the scrapes from the removal or the tacky discoloration left over after the glue. Second: it's a kitchen! The walls were spattered and stained after 30 years of use, even with regular washing.

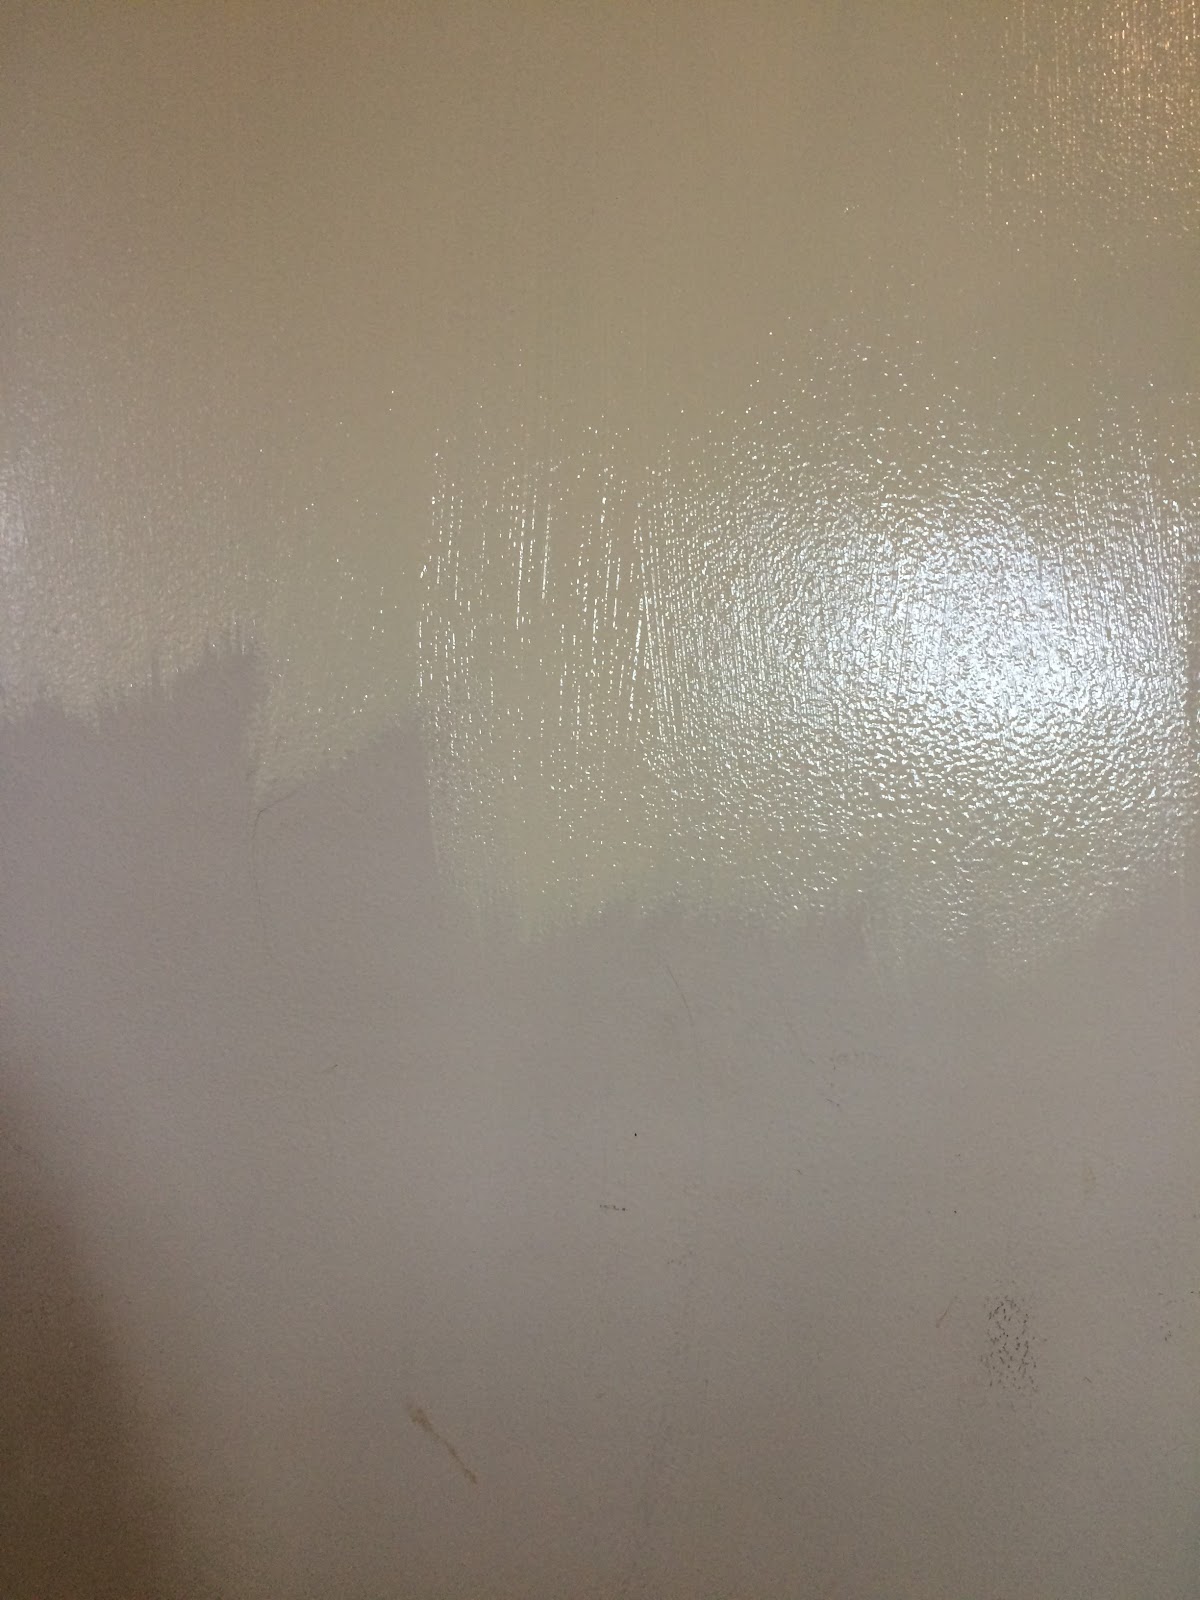

Color #1, a very pale creamy yellow, was not a success. It was a lovely color but did not work next to the cabinets or next to the almond formica. The formica will not live forever, but it was bad enough that I didn't want to be pushed into replacing it out of sheer desperation.


Color #2 was much better, if much more bland! A very pale cream that mostly left the walls feeling fresh and, bonus, made me realize how dated the previous wall color was - it, too, was a variation on almond.
After repainting, I also updated all of the switchplates, and put in foam insulating things behind them to cut down on drafts.


I could not be more pleased with the upgrade. It was a relatively quick and easy project, despite how long I dragged my feet in between stages, and the difference in the feel of the kitchen is huge.
Next up for the kitchen: new curtains and new under counter lighting. Longer term, a new exhaust hood for over the stove.

POM POMS YEAH.

Let us not discuss how ugly and disgusting those lights are.
Huh I never thought that I could get drafts from my outlets
ReplyDeleteI did a cool modge podge project on my outlet covers to cover them in paper and get rid of the awful builder-grade almond look. Cheap and worked well!
ReplyDelete