Consider this step 1 of the kitchen repainting project.
After we rewired the house, there were a lot of holes in the kitchen: four in the ceiling, and then some miscellaneous extra holes - around the light switches, for example, and from the old screw anchors for the old CO alarm.
(ok there were - and still are - a lot of holes everywhere, 22 remaining by my count, but the kitchen was a place to start, anyway)
Step 1: use these mesh thingies over the big holes. The holes are about 4" in diameter, and these squares are 6"x6".
Step 2: Cover them pretty roughly with a thick, no-frills layer of plaster.
Step 3: After waiting 24 hours for it to dry, sand down the rough plaster. Use the nifty sanding thing that attaches to the vacuum because plaster dust gets EVERYWHERE.
Step 4: Another layer of plaster, with a slightly wider putty knife for smoother lines.
Step 5: Wait another 24 hours, then sand again.
Step 6: Yep, another layer of plaster, with an even wider putty knife, that I didn't take a picture of, but it's 12" wide and the goal is big sweeping strokes for a minimum of edges or lines.
Step 7: Another 24 hours, another sanding! Hopefully this is the last one. Honestly, I could still do another layer on the ceiling but I ran out of fucks. It looks totally fine except on close inspection. My plan is to leave it alone until we get around to doing the rest of the kitchen renovations in mumblemumble years, and then do one last finishing layer before we repaint the ceiling.
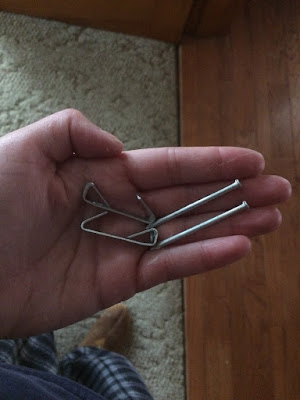
Unrelated: I pulled legitimately 6-8 of these picture hangers out of the walls in the kitchen, WHAT THE HELL WERE THEY HANGING, BOULDERS?
Next up: repainting the kitchen now that the wallpaper is gone and the walls are replastered.


The previous owners of our house used wall anchors for EVERYTHING. A plate? ANCHOR. A 2" letter? ANCHOR. Those things are a paint in the ass to get out, and leave monstrous craters in my walls. So annoying.
ReplyDeleteHow the hell people make so much damage to the house. And the mesh thing you used is new idea to me as till now I used to fill plaster and material to cover these types of holes so that Plastering Ashburton can be done nicely.
ReplyDelete